Silverlight Viewer for Reporting Services Getting Started (Local Connection)
PLEASE BE ADVISED THAT LOCAL REPORTS GENERATION IS POSSIBLE ONLY WITH SILVERLIGHT VIEWER FOR REPORTING SERVICES 2005 AND VISUAL STUDIO 2008.
Creating Web application using the build-in report processing.
Getting Started
Prerequisites
.NET Framework 3.5 SP1
Silverlight v3
Silverlight v3 SDK
Silverlight v3 Developer Tool
Visual Studio 2008
Microsoft SQL Reporting Services Sample Reports
Attachment
SilverlightViewerForReportingServicesGettingStartedForLocalConnectionSample.zip
Introduction
The target of the following guide is to demonstrate the basic moments of the use of Silverlight Viewer for Reporting Services. It gives minimum necessary knowledge in order to start working with the component. We will examine the process of generation of web application with the use of Silverlight Viewer for Reporting Services step by step. We will consider creation and configuration of the service and at last integration of the report viewer component on the application pages.
Creating Web application
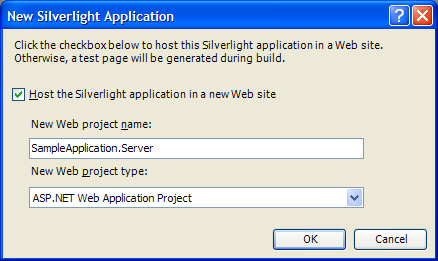
Step 1. Create a new Silverlight Application project named SampleApplication.
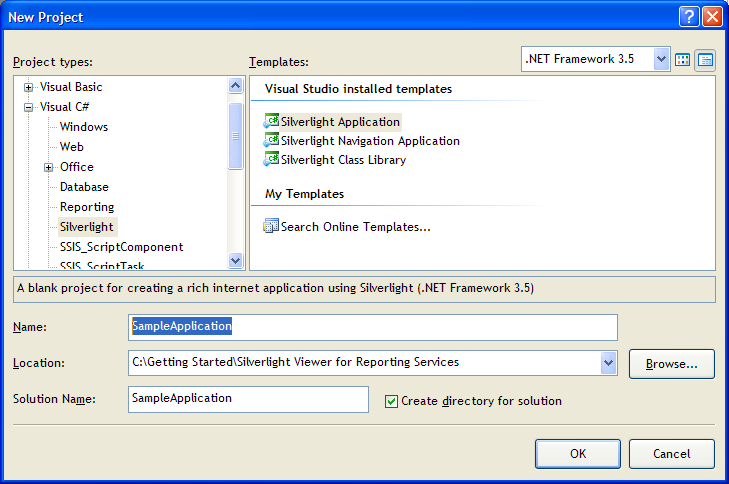
While creation of the project select the menu item “Add a new ASP.NET Web project to the solution to host Silverlight” and set name of the web-project to SampleApplication.Server
Step 2. Set specific port to 5555 in the Web tab of the SampleApplication.Server properties (in the "Solution Explorer", item Properties in contextual menu of the SampleApplication.Server).
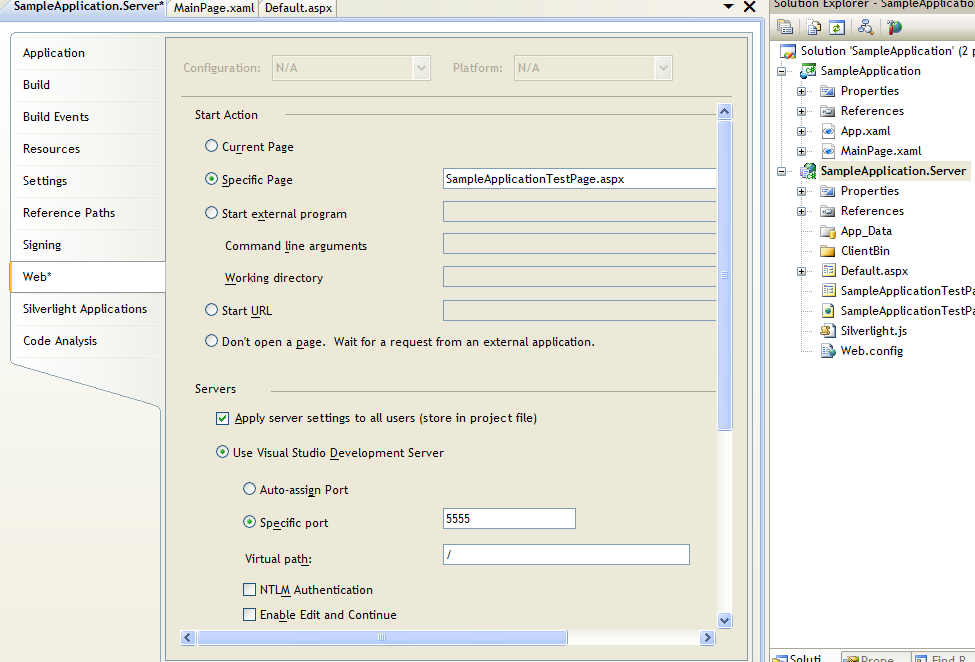
Next, set SampleApplication.Server project as Startup Project
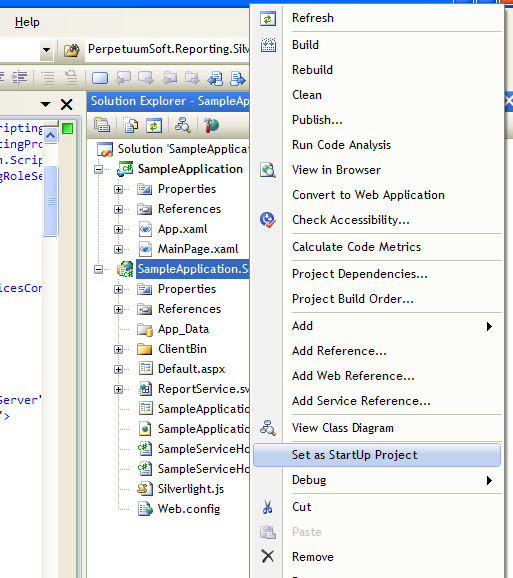
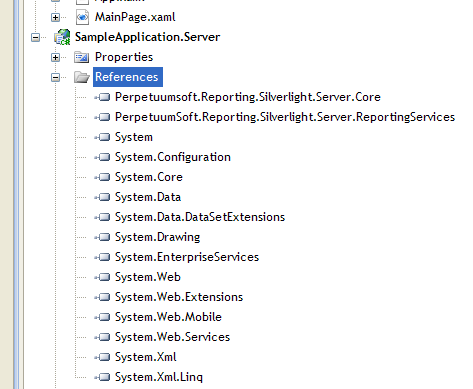
Step 3. Add Perpetuumsoft.Reporting.Silverlight.Server.Core and PerpetuumSoft.Reporting.Silverlight.Server.ReportingServices assemblies to the project references, (in "Solution Explorer", item Add Reference in context menu of SampleApplication.Server). These assemblies are located in the Bin folder of the Silverlight Viewer for Reporting Services installation folder.
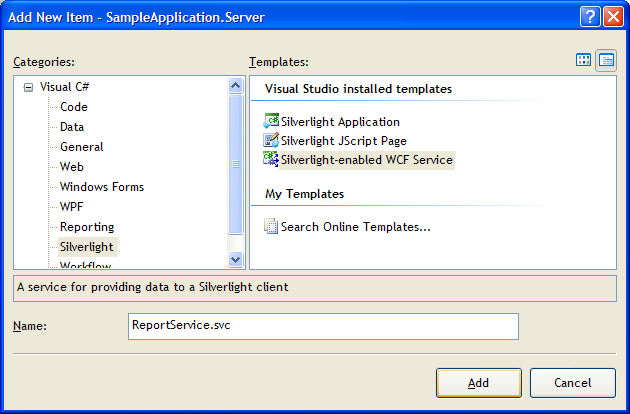
Step 4. Add WCF service named ReportService.svc to the SampleApplication.Server project.
Inherit a new ReportService class from the MsReportServiceBase class for implementation and opportunity to change standard behavior. In order to make ASP.Net context available for the service, service class needs to be marked by a special AspNetCompatibilityRequirements attribute. The ASP.Net context is required for the service to cache document data, if other mechanism of data storage is not implemented.
// ReportService.svc.cs
using System.ServiceModel.Activation;
using PerpetuumSoft.Reporting.Silverlight.Server.ReportingServices;
namespace SampleApplication.Server
{
[AspNetCompatibilityRequirements(RequirementsMode
= AspNetCompatibilityRequirementsMode.Required)]
public class
ReportService :
MsReportServiceLocal
{
}
}
Step 5. Now it’s necessary to setup created web-service. Make changes in the web.config file. System.serviceModel section must be as follows:
<system.serviceModel>
<behaviors>
|